Dana 300 Rebuild Page 10
| <--Previous | Dana 300 Home | Next--> |
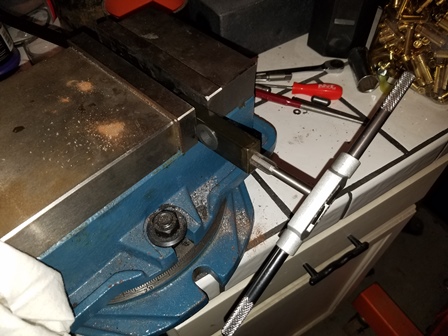
Figure 037. One bad thing about the AA kit, the holes in the shifter pads for the male heim joints were full of rust and not cut very well. Both of them had to have the threads cleaned up so the heim joints would screw in far enough. Without doing this, they would not go in any further than a half an inch.
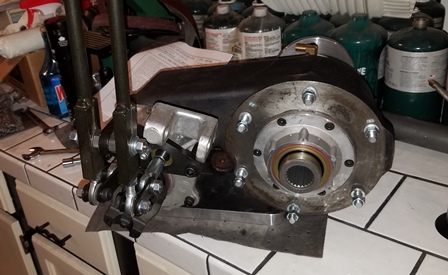
Figure 038. Install the set screw into one of the two pivot shoulder bolts, then install it in the bracket. Put on the other pivot shoulder bolt and tight them up. Install the shift rods using the flat washers, lock washers, and nuts on the pivot bolts. Align the heim joints so the eyes are parallel with their respective shift rails. Install the linkage plates and shoulder bolts. Tighten up the heim joint jam nuts. Install the knobs of your choice, and the shifter is installed.
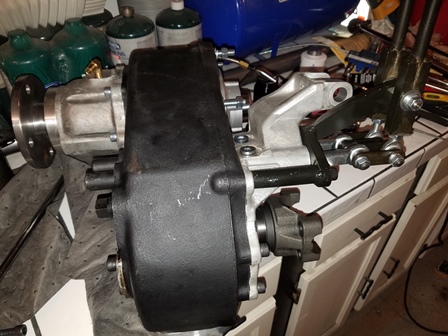
Figure 039. A side view of the shifter linkage. The ear for the old shifter will need to be cutt off. It will cause interference when the transfer case is clocked flat. This will allow it to go up further without cutting a hole in the body for clearance. The next part is installing the unit onto the transmission.
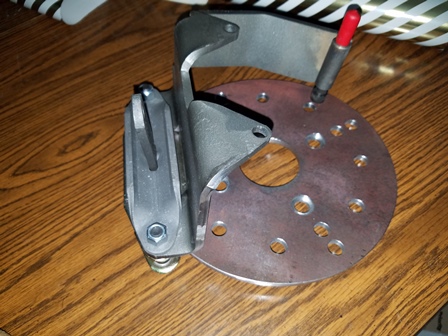
Figure 040. This is the High Angle Driveline Transfer Case Parking Brake. This is what comes in the kit. A caliper, a brake rotor, a connecting bracket, and one bolt. These parts are also raw steel with no coatings on them.
| Pages: 1, 2, 3, 4, 5, 6, 7, 8, 9, 10, 11, 12 |