Dana 300 Rebuild Page 8
| <--Previous | Dana 300 Home | Next--> |
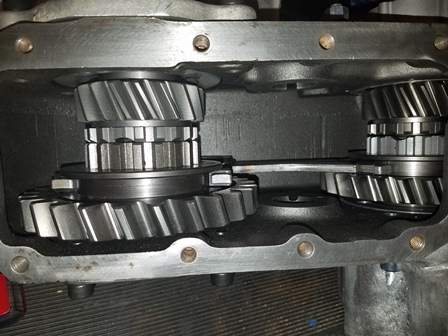
Figure 029. Replacement shift forks were found on ebay for a reasonable price, and they have now been installed in the transfer case. The wear caps have been put on both of them before installation.
Figure 030. Installation of the new shift rails starts with detent springs, also called poppet springs. This transfer case is known to pop out of gear. To stop this, two Number 6 washers were put in the bottom of each spring hole to stiffen up the spring. Put the ball in then push it down with a punch or screwdriver and install the shift rail. Be careful, if you slip, the spring and ball will shoot out of there like a bullet. Ask how we know this. One note of importance here, the factory aluminum plug that covers the hole above the shift rail was damaged. Here you can see what was used to replace it. These are size 6 Parker SAE hydraulic plugs. They are the same thread size, and work beautifully and look nice. If you are not using the 4x4 indicator switch, you can use two of them as shown here.
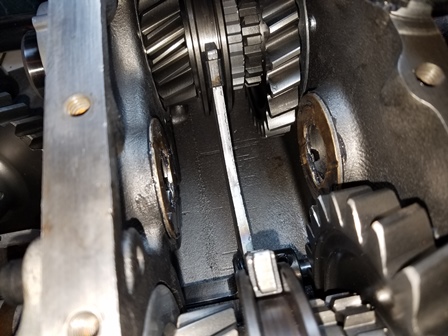
Figure 031. To start installing the Intermediate Gear, coat the thrust washers with grease and place them on the pads for them inside the case. The grease will hold them in place as you start the gear in.
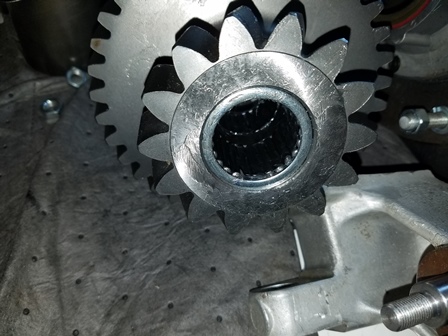
Figure 032. The bearing rollers must be put into the gear before installation. We used a Dana 300 small parts kit from Crown. There was a set of rollers in the rebuild kit, but they did not have the spacers with them, like the small parts kit does. We did have to replace the center spacer, as the original one was damaged. The new one came from Omix-Ada, and for what it is, was very expensive. It goes in the middle, between the two sets of rollers. Coat the inside of the gear with grease to hold the rollers in place, along with the outer spacers.
| Pages: 1, 2, 3, 4, 5, 6, 7, 8, 9, 10, 11, 12 |