4L60E Transmission Rebuild Page 19 of 29
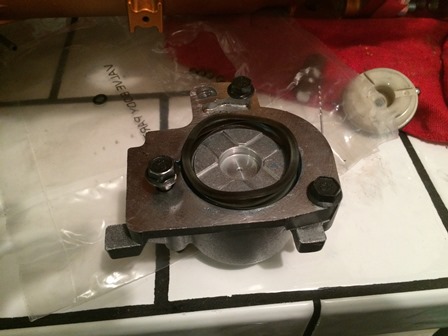
Figure 73. In the 1-2 accumulator housing, remove the old piston and pin. Drive in the supplied steel ball into the hole where the pin went in and stake the hole. This housing will require the supplied spacer. Install the spacer, then the two supplied springs. Install the pinless piston. Place the wavy spring on the dome end of the piston.
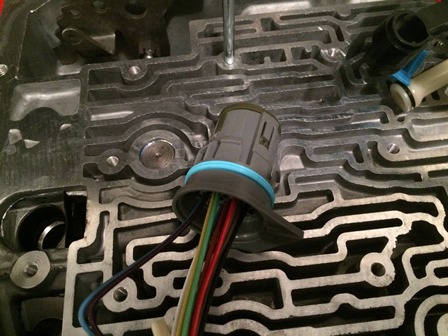
Figure 74. Get the wiring harness. Remove the o-ring on the main connector, and install the new quad type o-ring.
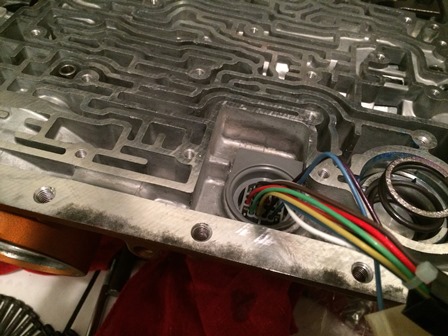
Figure 75. Put some transmission fluid on the new o-ring, and the bore for the connector, then push the connector into the bore until the retaining clips pop out on the back side. Lighly push on the connector from the outside of the case to make sure all the clips are out and holding the connector in place.
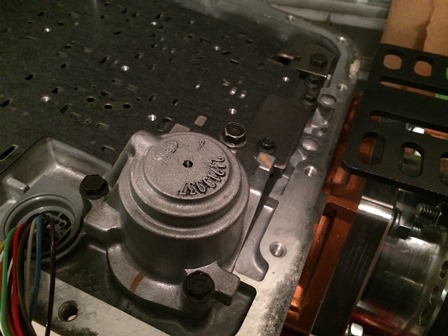
Figure 76. Make two guide pins from an M6-1.0 x 70mm bolts. (cut the heads off and bevel the cut end) Install them in the holes on the pump side of the transmission. Place the separator plate on the transmission. Gasket with CA goes toward case, gasket with VB towards valve boty. Install the stiffener plate and finger tighten the bolts. Install the accumulator housing and finger tighten the bolts. Torque all six bolts to 120 inch pounds.
| Pages: 1, 2, 3, 4, 5, 6, 7, 8, 9, 10, 11, 12, 13, 14, 15, 16, 17, 18, 19, 20, 21, 22, 23, 24, 25, 26, 27, 28, 29 |
| <--Previous | 4L60E Rebuild Home | Next--> |
| Contact: Copperhead | As an Amazon Associate I earn from qualifying purchases | © 2019 |