4L60E Transmission Rebuild Page 2 of 29
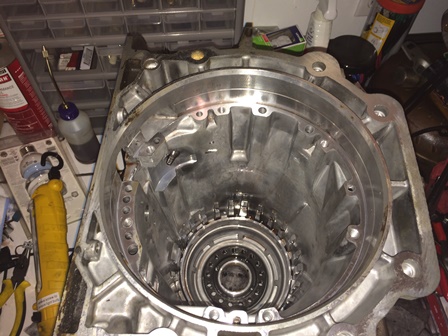
Figure 5. Now to finish the tear down, the snap ring holding the spring cage for the low-reverse piston must be removed. This is the point where one of the more expensive tools had to be purchased, the spring compressor. The KD Tools 2398D unit was the one purchased. On the bright side, if anymore transmission work is ever done, the tools will already be there and will not have to purchased again.
After removing the snap ring, the spring cage was removed, and the case was turned upside down and a small quantity of air was blown in the passage for the reverse piston to force it out of the case. Tear down of the transmission is now complete. The hard work starts now, of putting it back together.

Figure 6. The first thing to do with the transmission is clean it. The case was taken to the local car wash and a lot of time and effort did not do much. The local transmission shops were contacted to see if they would clean my cases for a fee, and every single one of them refused to do it.
At that point, it was taken to the local auto machine shop and it was done there. This photo is what they looked like after all the grease and grime was removed. It still took a lot of elbow grease, scratch-pads, and the most amazing cleaning stuff, Nevr Dull. This was all in preparation for primer and paint.
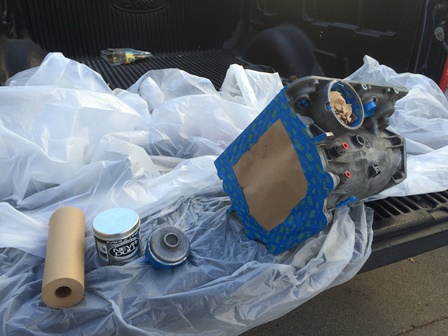
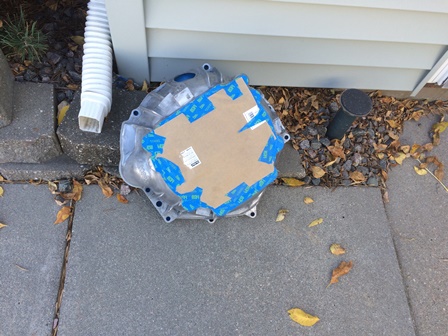
Figure 7 and 8. The case and bellhousing are masked for primer and paint. All machined surfaces are covered so they do not get paint on them.
| Pages: 1, 2, 3, 4, 5, 6, 7, 8, 9, 10, 11, 12, 13, 14, 15, 16, 17, 18, 19, 20, 21, 22, 23, 24, 25, 26, 27, 28, 29 |
| <--Previous | 4L60E Rebuild Home | Next--> |
| Contact: Copperhead | As an Amazon Associate I earn from qualifying purchases | © 2019 |